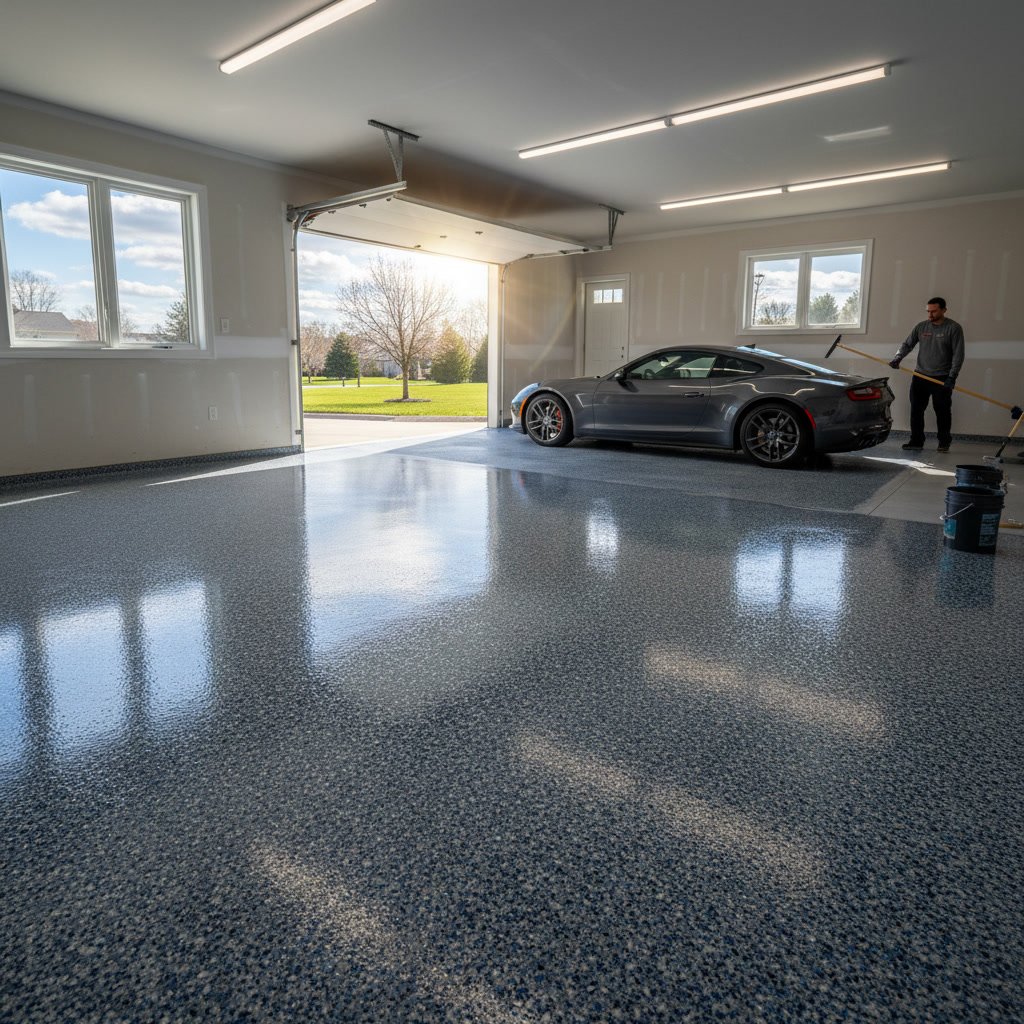
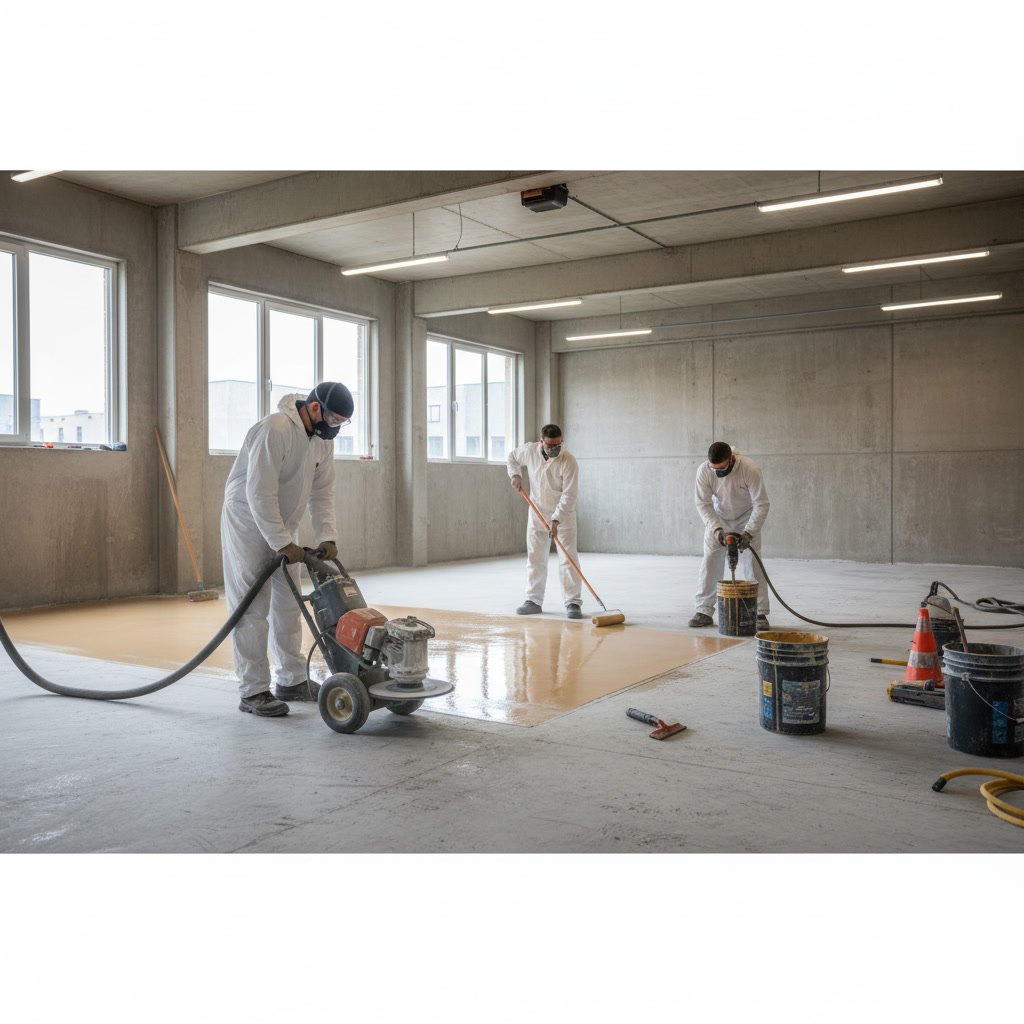
The epoxy flooring installation process involves multiple stages that begin with thorough surface preparation and end with a fully cured, durable floor system. Professional installers follow a specific sequence: substrate evaluation and repair, mechanical surface profiling, cleaning and priming, epoxy application in multiple coats, and final curing. Each phase directly impacts the bond strength, appearance, and service life of the finished floor, which is why experienced contractors never skip steps or rush through timelines.
Why Surface Preparation Determines Floor Performance
The most critical part of any epoxy installation happens before the first drop of resin touches the floor. Surface preparation accounts for roughly 80 percent of a successful installation. Concrete must be properly profiled to achieve a minimum surface roughness, typically between CSP 2 and CSP 4 on the International Concrete Repair Institute scale, depending on the coating system specified.
Poor preparation leads to delamination, bubbling, and premature failure. Even small amounts of surface contamination, including dust, oil, or existing sealers, prevent proper adhesion. That’s why professional teams always test for moisture vapor transmission and pH levels before beginning work.
Evaluating Your Concrete Substrate Before Installation
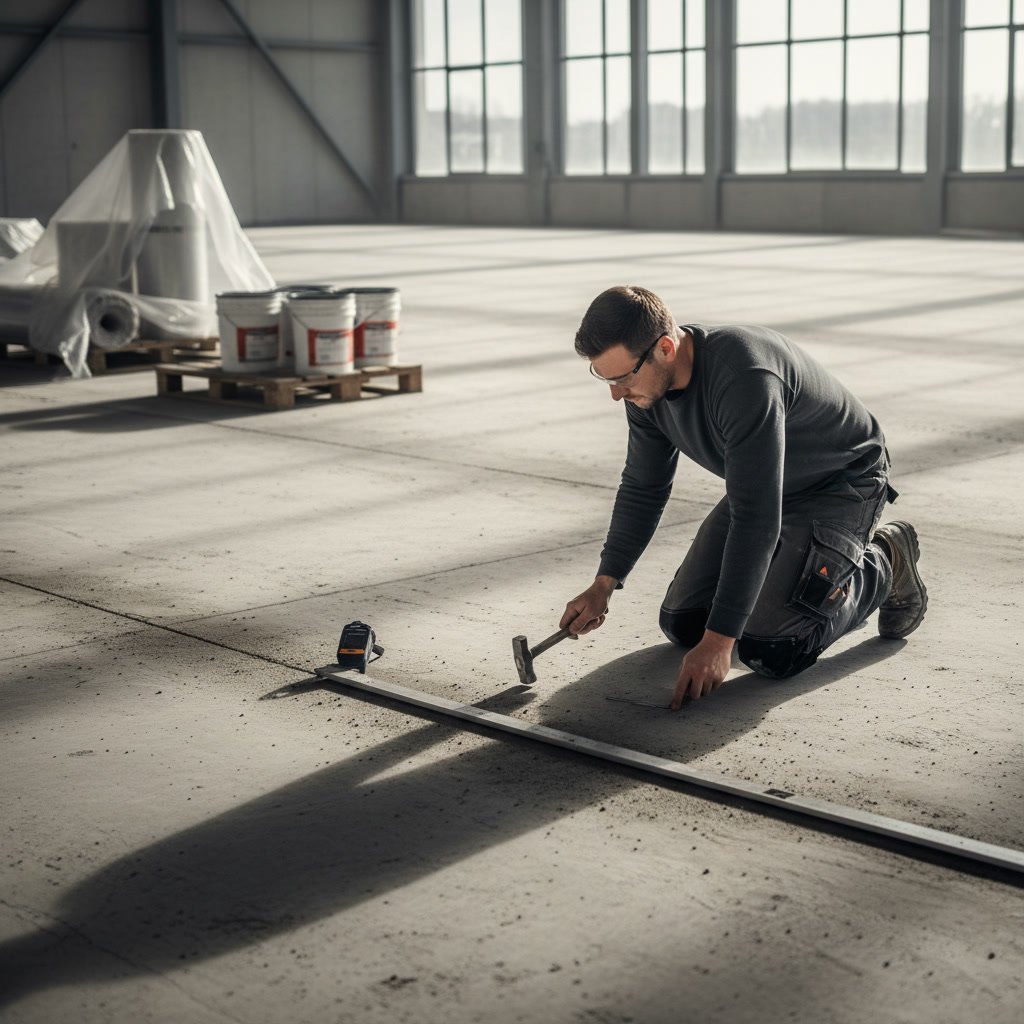
Before any mechanical work begins, contractors inspect the concrete for structural soundness, cracks, spalling, and moisture issues. A calcium chloride test measures moisture vapor emission rates, while a plastic sheet test reveals surface condensation problems. Both tests help determine whether additional waterproofing measures are necessary.
Concrete age matters too. Fresh concrete must cure for at least 28 days before epoxy application, though some fast-track systems allow earlier installation. The slab should have a minimum compressive strength of 3,000 psi, and any weak or crumbling areas require repair with patching compounds that bond chemically to the surrounding concrete.
Mechanical Profiling and Surface Cleaning Methods
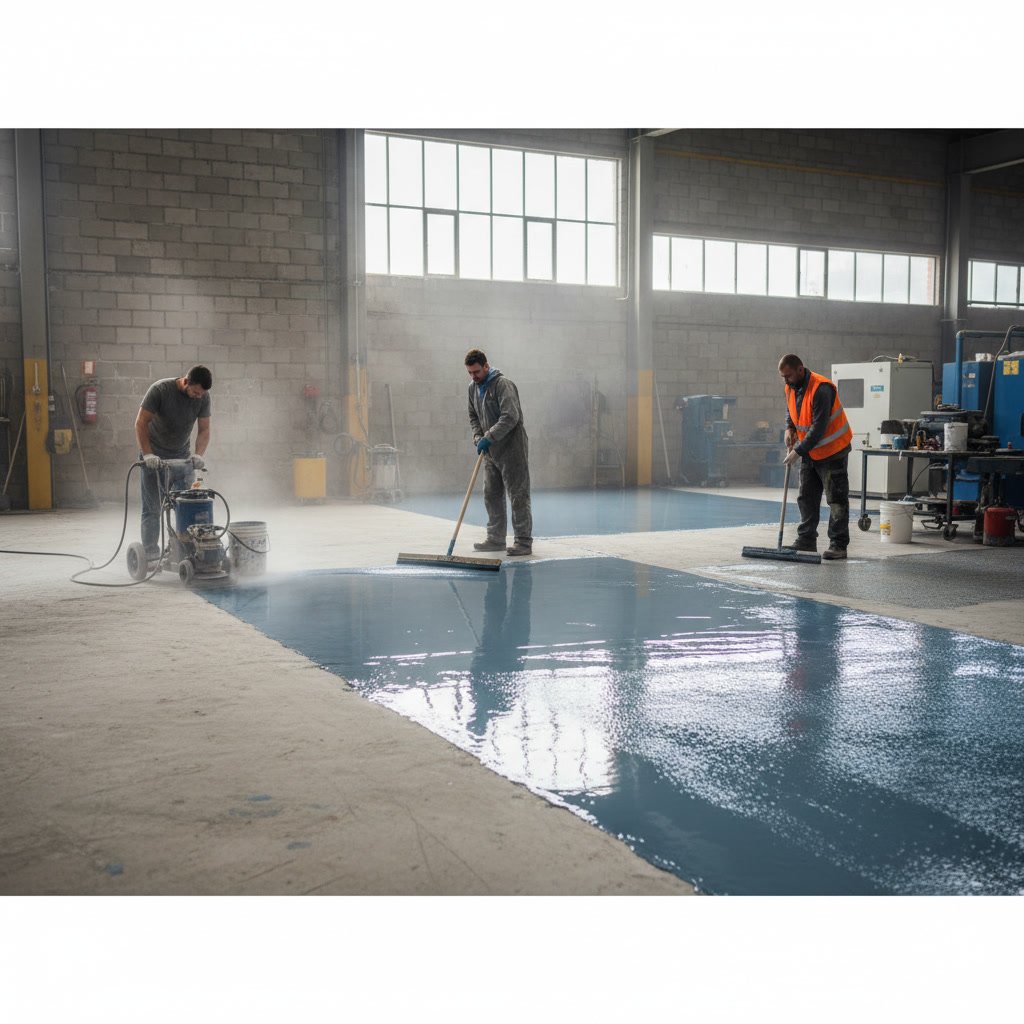
Achieving the correct surface profile requires mechanical abrasion. Diamond grinding equipment removes existing coatings, opens the concrete pores, and creates the texture needed for mechanical bonding. Shot blasting offers an alternative method that cleans and profiles simultaneously, ideal for large commercial spaces.
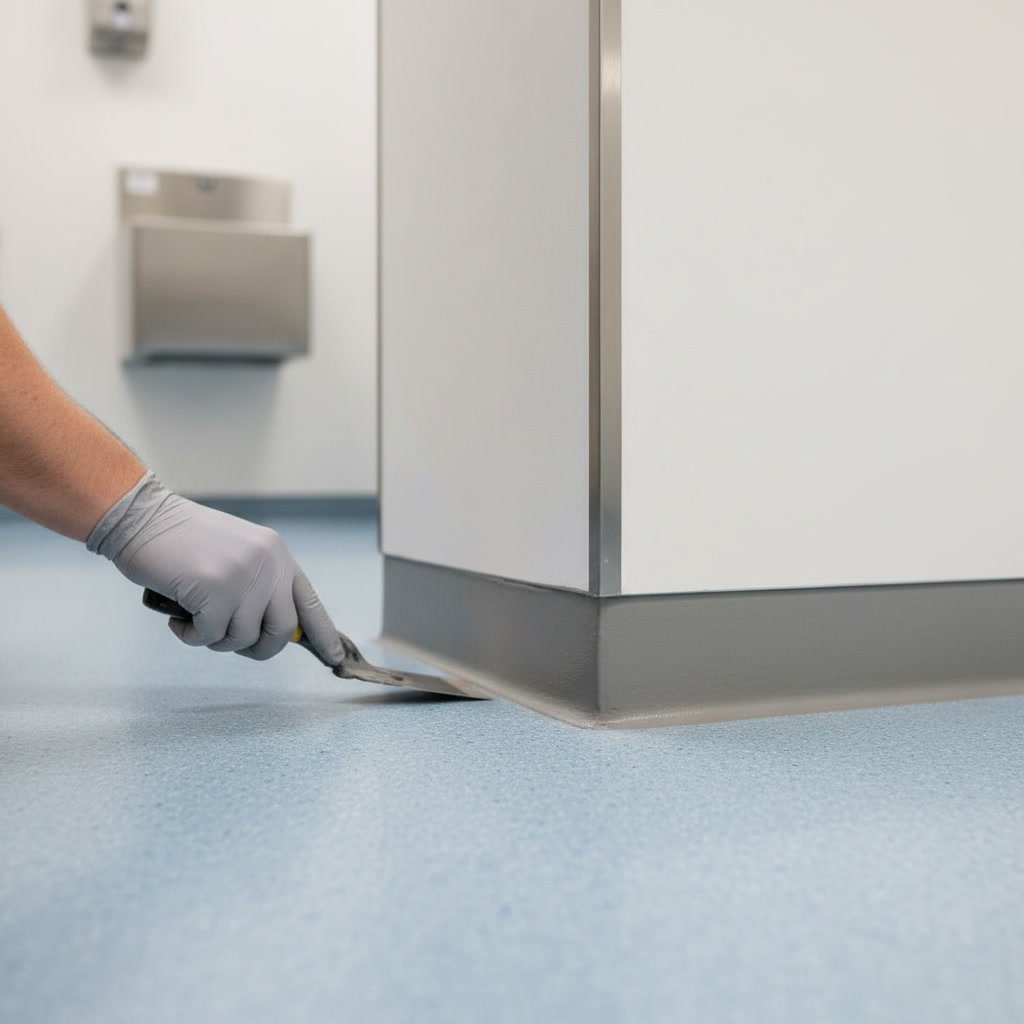
Edge work around walls, columns, and drains requires handheld grinders or scarifiers to reach areas inaccessible to walk-behind machines. After profiling, industrial vacuums equipped with HEPA filters remove all dust and debris. Any remaining contaminants are addressed with specialized cleaners or solvents, followed by a final rinse and dry time.
Repairing Cracks and Joints in Manhattan NY Facilities
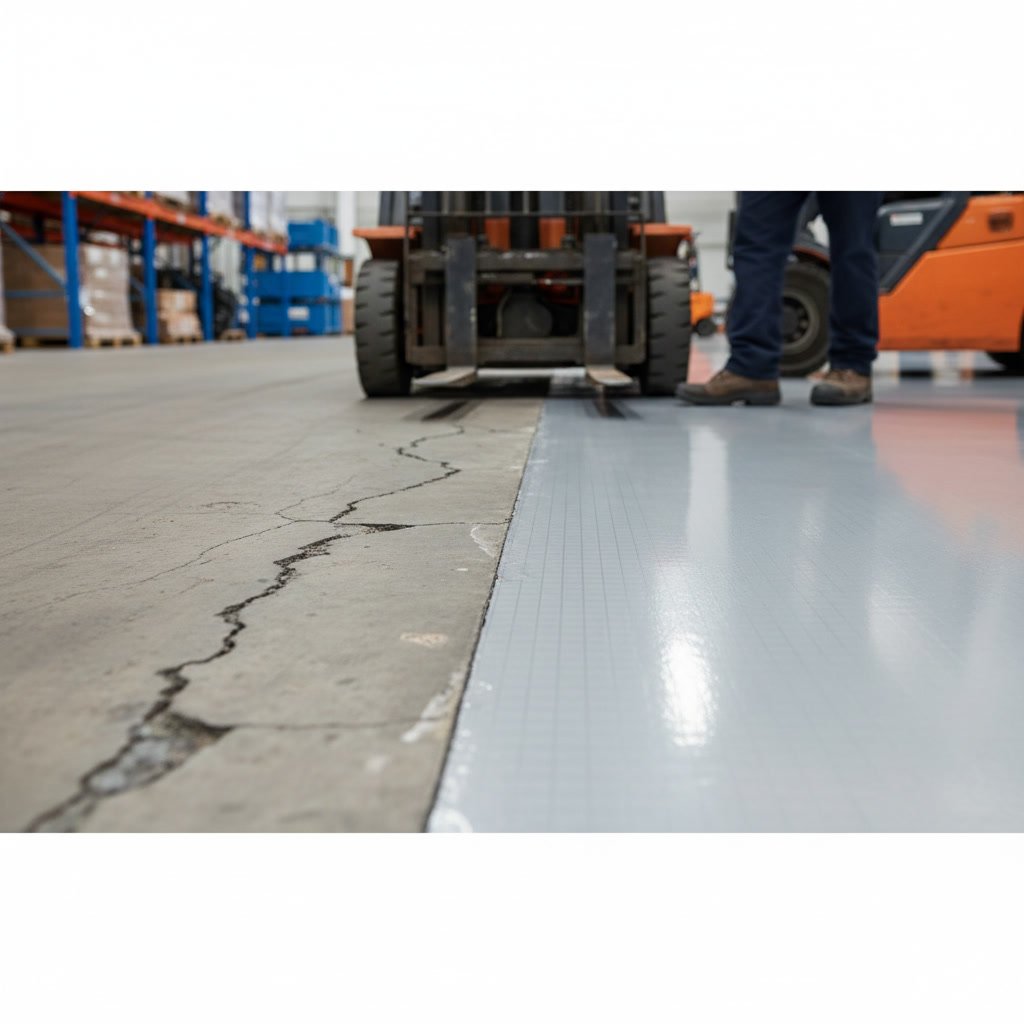
Cracks wider than hairline size need attention before coating. Epoxy crack fillers or polyurea repair products fill narrow fissures, while wider cracks may require routing and filling with flexible joint materials. Control joints and expansion joints receive special treatment, often filled with semi-rigid epoxy fillers or left open and sealed with appropriate joint systems.
Spalled areas are ground back to sound concrete, cleaned thoroughly, and filled with epoxy patching mortars that cure to similar hardness as the surrounding slab. The goal is creating a uniform, level surface that won’t telegraph imperfections through the finished coating.
Primer Application and Its Role in Adhesion
Once the surface is properly prepared and completely dry, primer application begins. Epoxy primers penetrate the concrete pores and create a bridge between the substrate and subsequent coating layers. Low-viscosity penetrating primers work well on dense concrete, while high-build primers help smooth slightly uneven surfaces.
Application methods include roller, squeegee, or spray equipment, depending on the primer type and project size. Coverage rates typically range from 200 to 400 square feet per gallon, though porous concrete may require additional material. Primers must cure according to manufacturer specifications, usually between four and 24 hours, before the next coat.
Base Coat Installation Techniques for Different Systems
The base coat provides the primary thickness and color foundation for most systems. Epoxy coatings are mixed in precise ratios, usually two parts resin to one part hardener, using mechanical mixers to ensure thorough blending. Pot life varies from 20 to 45 minutes depending on temperature and formulation.
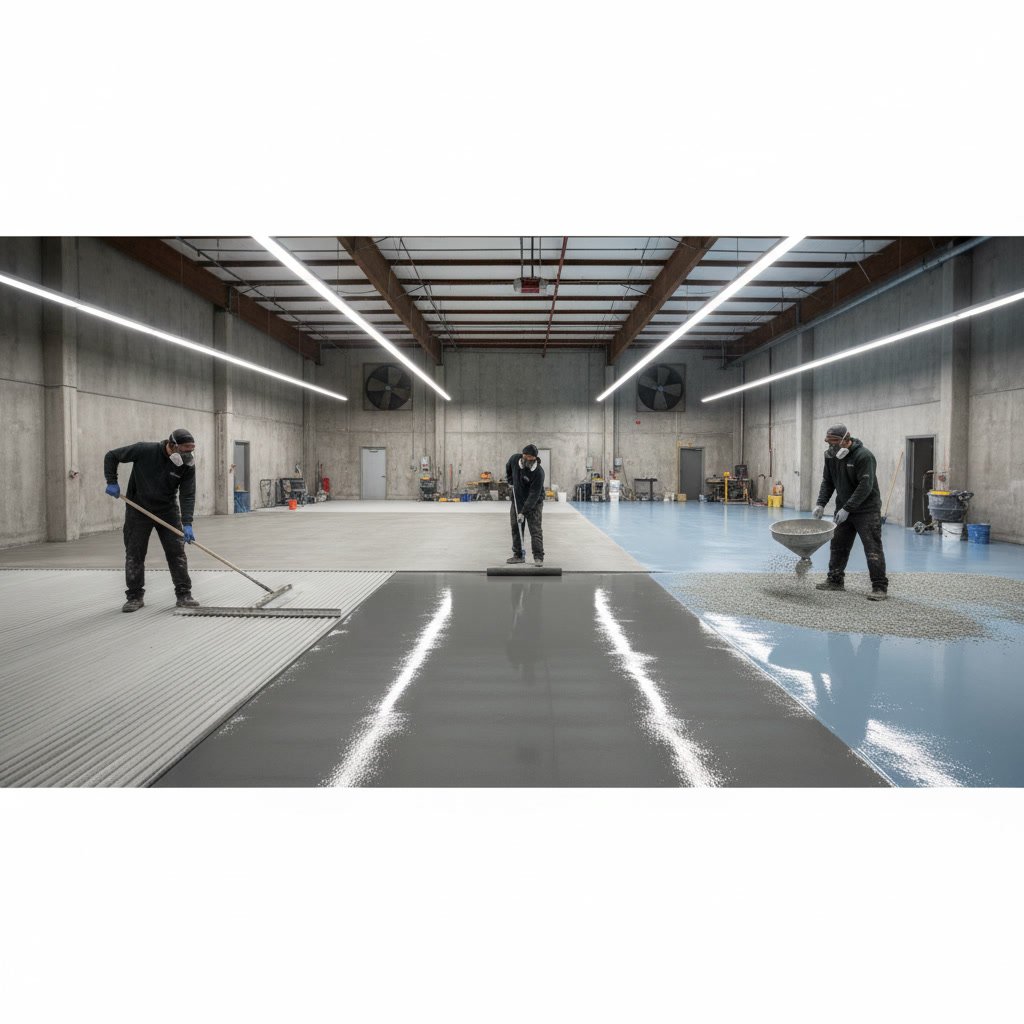
Installation crews pour material in ribbons across the floor, then spread with notched squeegees or roller frames to achieve uniform mil thickness. For decorative systems like flake or quartz broadcast floors, colored chips are scattered into the wet base coat to full or partial coverage. Metallic coating systems require special application techniques that create the signature swirl patterns.
Thickness matters significantly. Industrial applications often require 10 to 20 mils of dry film thickness, while high-traffic commercial spaces may need 30 mils or more. Multiple coats build to the specified thickness while allowing proper cure times between layers.
Topcoat Selection and Application Methods
Topcoats provide abrasion resistance, chemical protection, and the final aesthetic appearance. Clear epoxy topcoats work well for moderate traffic areas, while urethane topcoats offer superior UV stability and flexibility for areas with sunlight exposure or thermal cycling.
For the fastest project timelines, polyaspartic topcoats cure rapidly enough to allow same-day or next-day return to service. These systems are especially popular for commercial spaces that cannot afford extended downtime. Application techniques mirror base coat methods but with closer attention to achieving a smooth, streak-free finish.
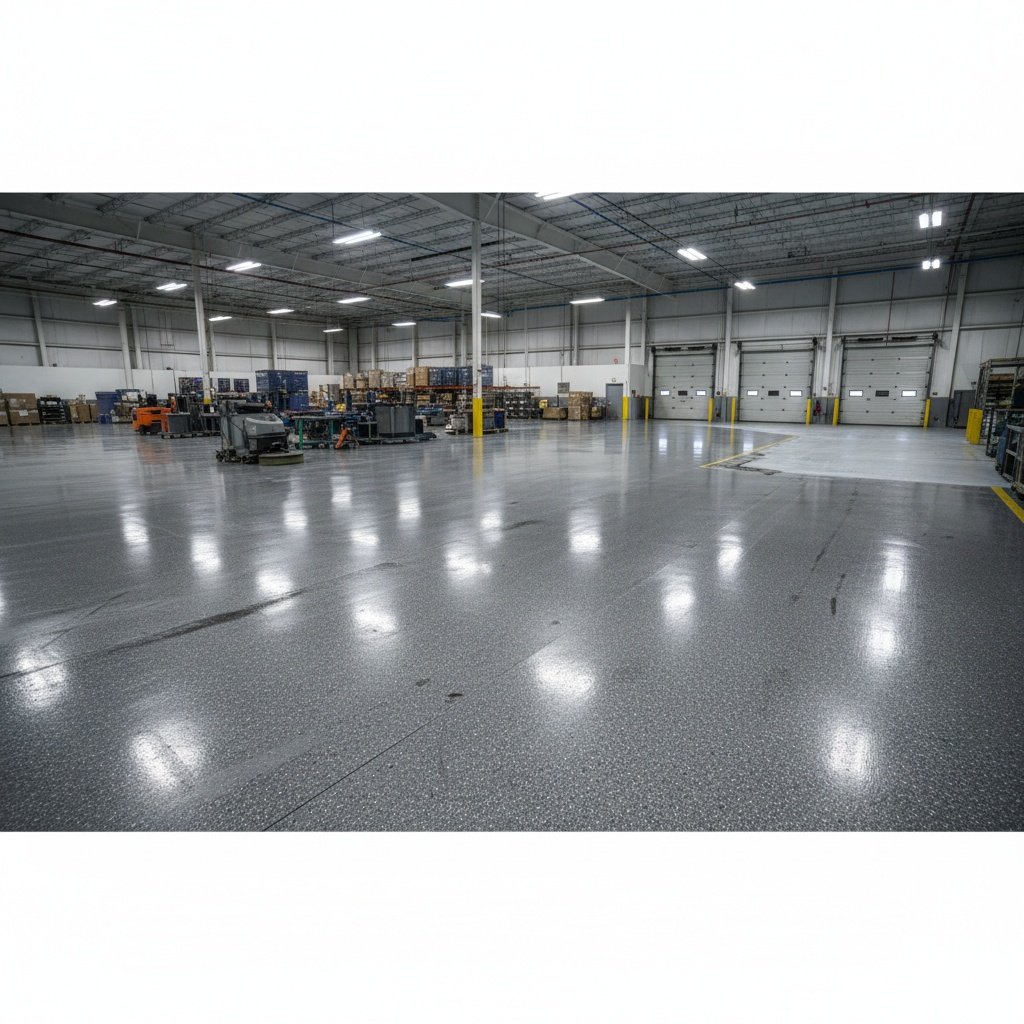
Anti-slip additives can be broadcast into the wet topcoat or mixed directly into the material, depending on the desired texture and traction level. The final coat determines gloss level, typically ranging from matte to high gloss depending on client preference and functional requirements.
Understanding Cure Times and Environmental Factors
Curing is a chemical process, not simply drying. Epoxy systems harden through an exothermic reaction between resin and hardener that continues for days after application. Initial foot traffic may be possible within 24 hours, but full chemical cure and maximum hardness typically require seven days.
Temperature and humidity dramatically affect cure rates and final properties. Most epoxy systems require ambient temperatures between 50 and 90 degrees Fahrenheit during application and cure. Cold temperatures slow the reaction and can prevent proper cross-linking, while excessive heat accelerates cure and reduces working time.
Humidity above 85 percent can cause surface defects like blushing or amine bloom, a waxy film that appears on the coating surface. Professional installers monitor conditions carefully and sometimes use climate control equipment to maintain ideal parameters. This attention to environmental factors separates quality installations from problem jobs.
Step-by-Step Timeline for a Standard Commercial Project
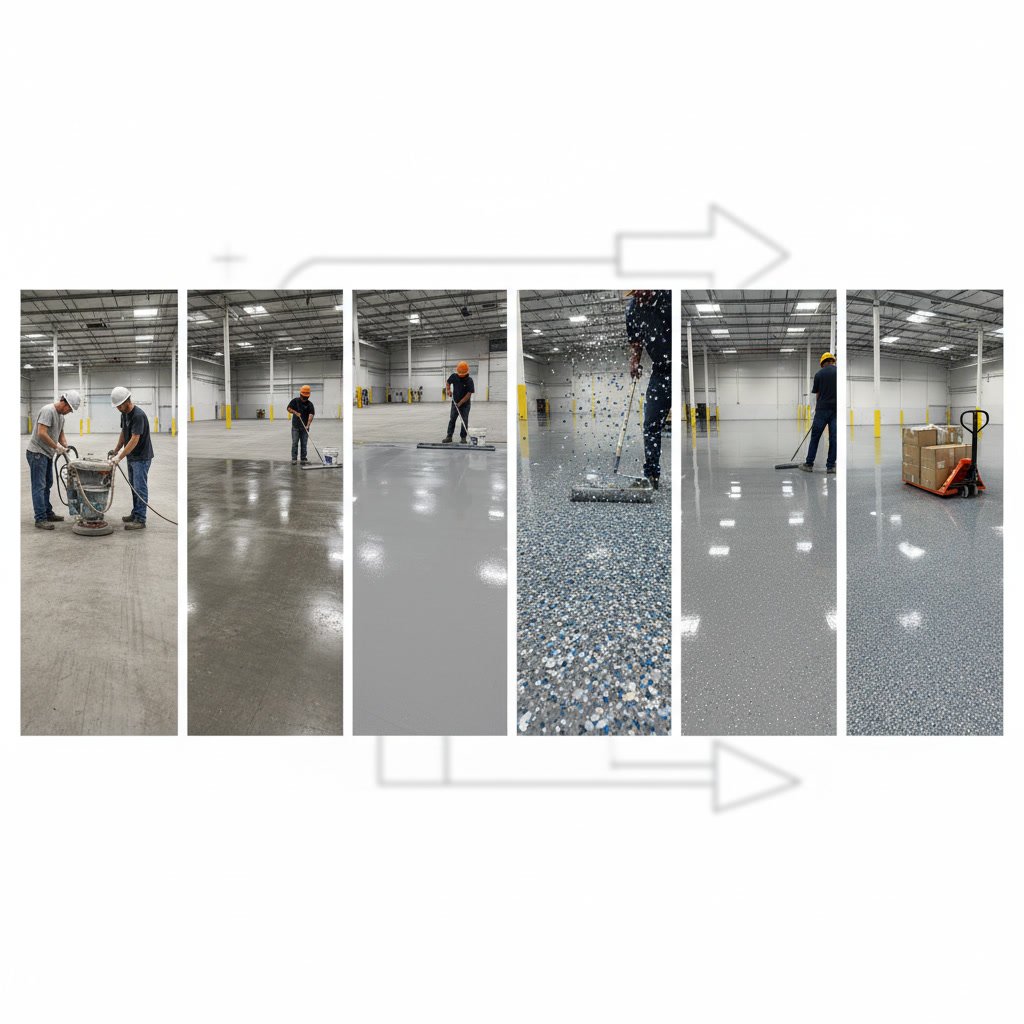
Here’s what a typical three-day installation looks like for a 5,000-square-foot commercial space:
Day One: Surface evaluation, diamond grinding for profile, crack and joint repair, thorough cleaning, and primer application. The primer cures overnight under climate-controlled conditions.
Day Two: Base coat application using notched squeegees, optional broadcast of decorative flakes or aggregate, scraping of excess material after initial set, and inspection for coverage uniformity. The base coat cures for 12 to 16 hours.
Day Three: Light sanding to remove any high spots or debris, vacuuming, topcoat application in one or two passes depending on specified thickness, and final quality inspection. The floor can typically handle foot traffic after 24 hours and vehicle traffic after 72 hours.
Larger projects spread across more days, while fast-cure systems can compress timelines significantly. Industrial facilities requiring heavy chemical resistance may need additional coats and extended cure times before the floor enters full service.
Quality Control Measures During Professional Installations
Experienced contractors implement checkpoints throughout the installation. Surface profile gauges verify proper concrete preparation. Wet film thickness gauges measure coating application rates to ensure adequate material coverage. Pull-off adhesion tests can verify bond strength after cure on critical projects.
Visual inspection catches application defects like fisheyes, pinholes, or uneven coverage while corrections remain possible. Temperature and humidity logs document environmental conditions throughout the project, providing valuable data if questions arise later. These quality measures protect both the contractor and client by ensuring the finished floor meets specifications.
Many professional teams also photograph each stage of work, creating a permanent record of proper procedures and substrate conditions. This documentation proves especially valuable for warranty purposes and helps diagnose issues if they develop years later.
Ensuring Long-Term Performance After Installation
A properly installed floor requires minimal maintenance but benefits from simple protective measures. Allow the full seven-day cure before subjecting the floor to heavy loads or harsh chemical exposure. Initial cleaning should use pH-neutral cleaners rather than aggressive solvents that might soften the coating during early cure stages.
Place walk-off mats at entrances to trap grit and abrasive particles that gradually wear the topcoat. For industrial environments, establish protocols for immediate cleanup of chemical spills, even though epoxy offers excellent chemical resistance. Regular dust mopping or auto-scrubbing keeps the floor looking new and prevents contaminant buildup.
Inspect the floor periodically for signs of wear or damage, especially in high-traffic zones. Small repairs made promptly prevent larger problems that require extensive remediation. Many commercial clients schedule recoating every five to ten years to maintain appearance and extend the floor system’s service life indefinitely.
Alliance Epoxy Flooring Corp has completed thousands of installations across commercial, industrial, and institutional facilities throughout the region. Each project benefits from systematic processes, quality materials, and experienced installation teams who understand that proper technique determines floor performance for decades.
Whether you’re planning a new floor for a warehouse, restaurant, or medical facility, understanding the installation process helps you evaluate contractors and set realistic expectations. The right installation partner combines technical knowledge with proven field experience, delivering floors that perform as specified from day one. If you’re ready to discuss your project requirements and receive a detailed proposal, reach out to Alliance Epoxy Flooring Corp at +18005189080 to schedule a site evaluation and learn how professional installation delivers lasting value.