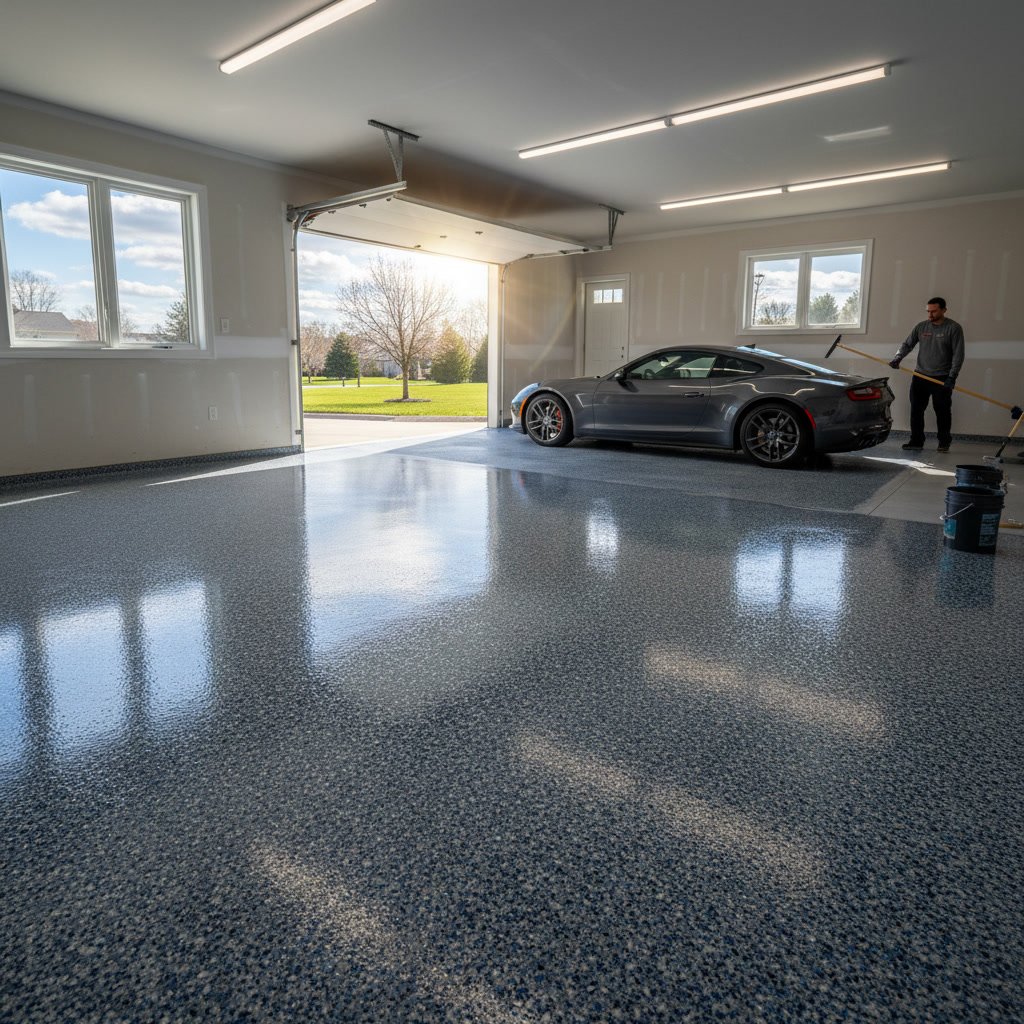
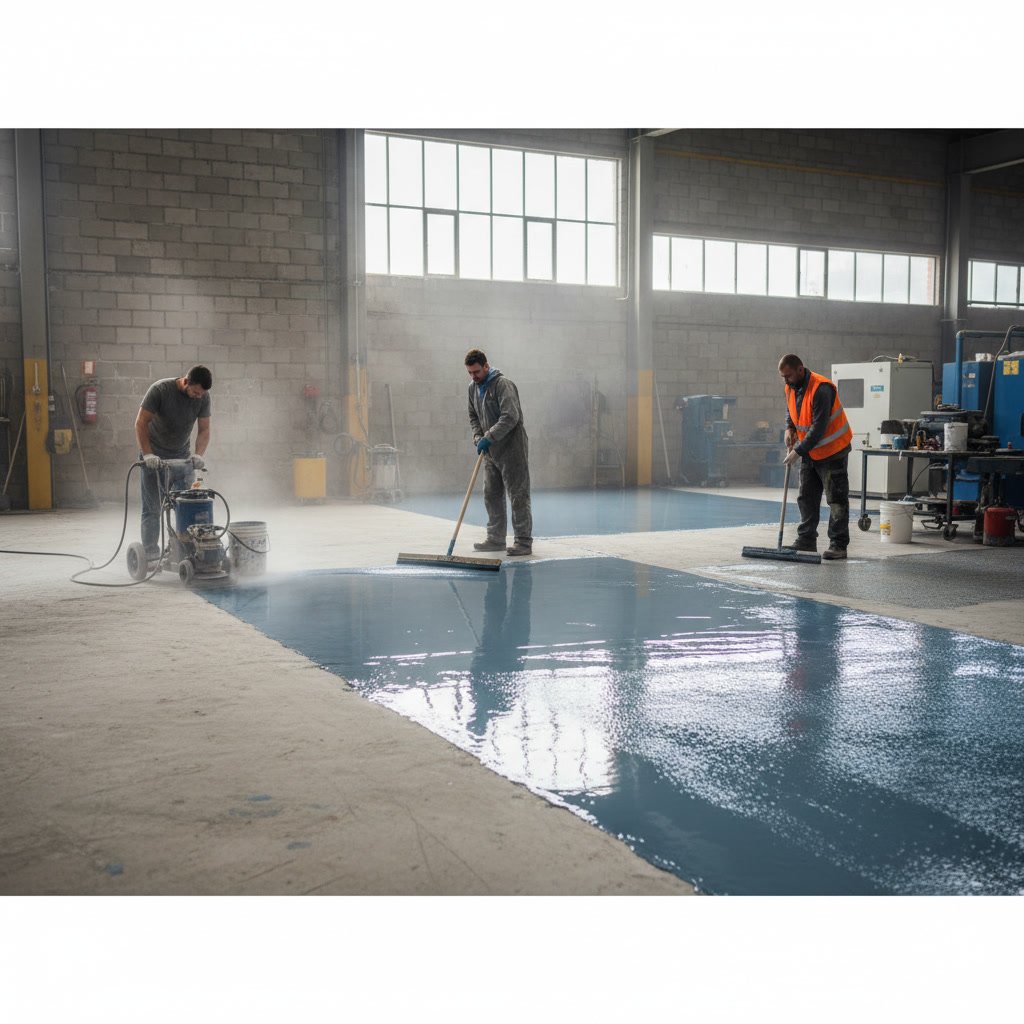
Epoxy flooring installation involves a precise series of steps designed to create a durable, long-lasting surface over concrete. The process begins with thorough concrete preparation, including cleaning and profiling, followed by crack and joint repair, primer application, epoxy coating layers, and a final cure period. Professional installation typically takes two to four days, depending on the coating system and facility conditions.
Understanding how professionals transform raw concrete into a high-performance epoxy floor helps property owners set realistic expectations and appreciate the complexity of the work. Each phase builds on the previous one, and skipping or rushing any step compromises the final result.
Why Proper Surface Preparation Determines Long-Term Performance
The foundation of any successful epoxy floor lies in how well the concrete is prepared before the first drop of coating touches the surface. Concrete must be clean, dry, and properly profiled to allow mechanical bonding between the substrate and epoxy. Without this bond, the coating can delaminate within months, regardless of product quality.
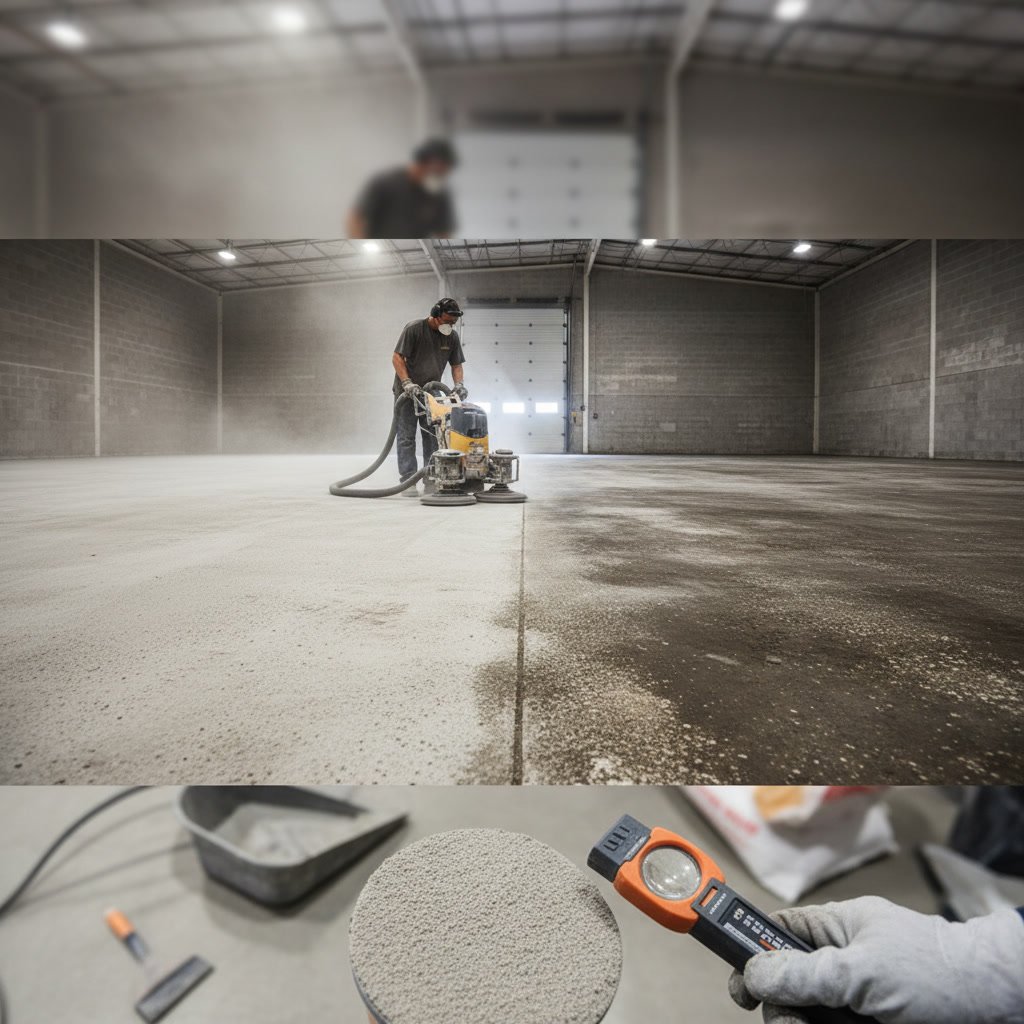
Surface preparation accounts for roughly 70% of the total installation effort, yet it receives the least attention from inexperienced contractors. Professional teams use diamond grinding equipment to open the concrete pores and remove surface contaminants. The concrete surface profile (CSP) should reach a CSP-2 or CSP-3 rating, which feels similar to 60-80 grit sandpaper when you run your hand across it.
Moisture testing is equally critical. Concrete slabs must register below 4% moisture content using a calcium chloride test, or below 75% relative humidity using in-situ probes. Applying epoxy over wet concrete traps moisture beneath the coating, leading to bubbling, blistering, and eventual failure.
Removing Existing Floor Coverings and Contaminants
Before any grinding begins, existing floor materials must be completely removed. Old vinyl, carpet, tile, or failed coatings create barriers that prevent proper epoxy adhesion. Specialized equipment removes different materials efficiently.
For facilities with glued-down materials, adhesive removal requires either mechanical scraping or chemical softening agents. Mastic and thick adhesives often need heat application or shot blasting to remove completely. Any residue left behind acts as a bond breaker, so thorough removal is non-negotiable.
Oil stains, grease, and chemical spills require degreasing with alkaline cleaners or specialized solvents. These contaminants penetrate concrete and create invisible barriers. A simple water droplet test reveals contamination: if water beads up rather than soaking in, the surface still contains oils that will reject epoxy.
Concrete Profiling and Surface Grinding
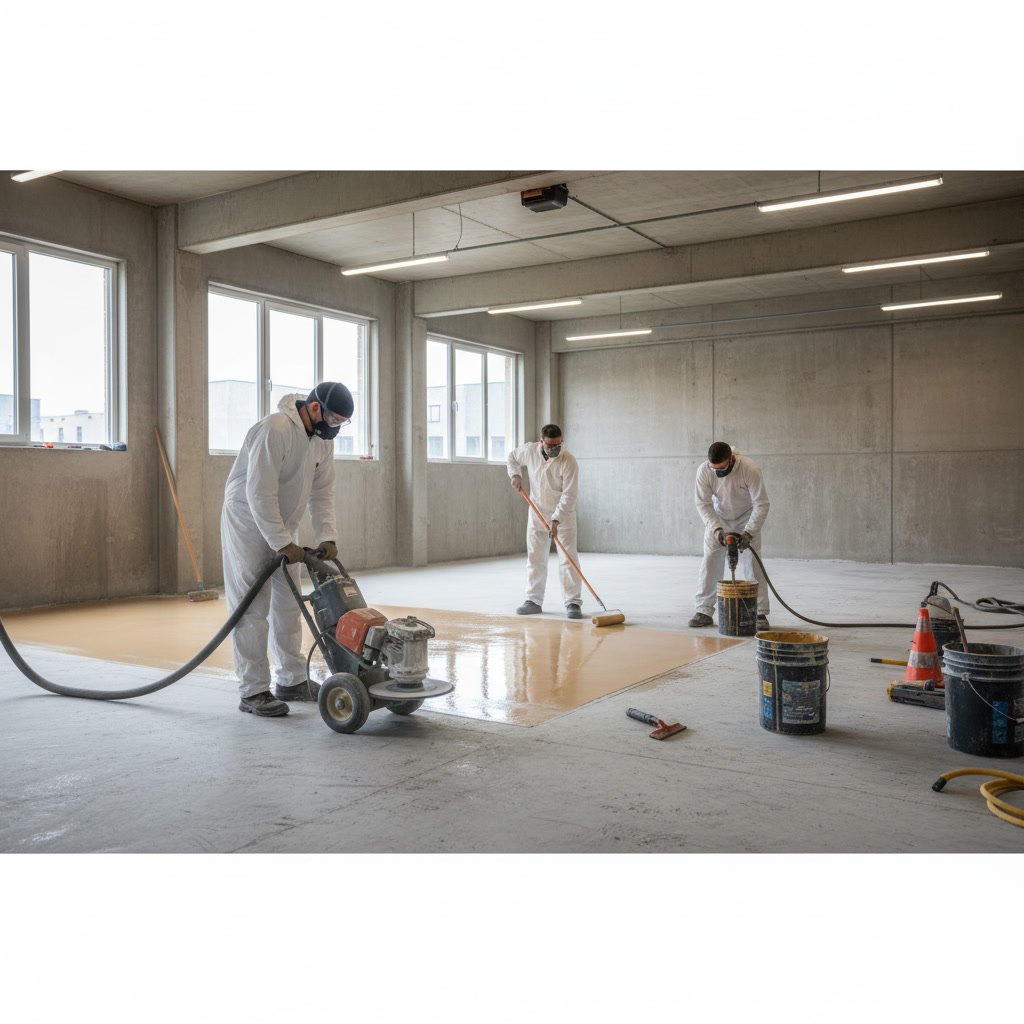
Once the concrete is clean and clear, mechanical profiling creates the anchor pattern epoxy needs to grip. Diamond grinding machines equipped with metal-bonded or resin-bonded diamonds abrade the top layer of concrete, exposing aggregate and creating microscopic valleys.
The grinding process serves multiple purposes beyond profiling. It levels minor surface irregularities, removes weak surface laitance, and identifies hidden cracks or defects that need repair. Most commercial and industrial applications require at least two passes with progressively finer diamonds to achieve the ideal surface texture.
Dust collection during grinding is mandatory, both for worker safety and surface cleanliness. Modern grinders connect to high-efficiency vacuums that capture 99% of silica dust. Any dust remaining on the surface after grinding must be removed with industrial vacuums and tack cloths before coating begins.
Crack Repair and Joint Filling
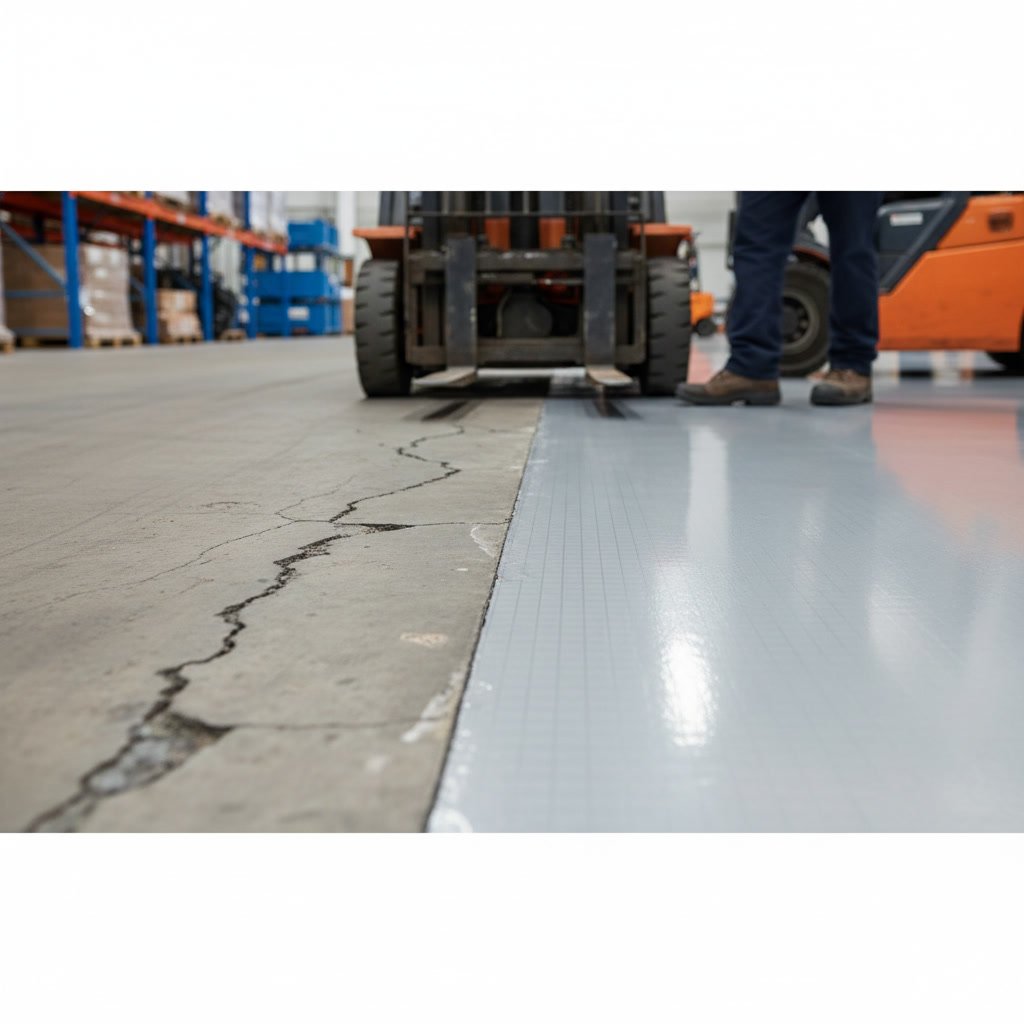
Concrete naturally develops cracks and has control joints designed to manage movement. These openings must be addressed before coating to prevent epoxy from cracking or joints from telegraphing through the finished surface.
Hairline cracks up to 1/8 inch wide can be filled with low-viscosity epoxy that penetrates deep into the fissure. Wider cracks require routing with a diamond blade to create a uniform channel, which is then packed with semi-rigid epoxy or polyurea filler. This routing creates a mechanical key that holds the repair material in place.
Control joints and expansion joints need special attention. Rigid epoxy over joints will crack as the concrete moves. Semi-flexible joint fillers accommodate movement while maintaining a sealed surface. In high-traffic areas, control joints may be filled flush with the coating or left as tooled joints that are easier to maintain.
Applying Primer for Maximum Adhesion in Manhattan NY
After the concrete is profiled, repaired, and cleaned, primer application creates the critical bond between substrate and coating system. Not all epoxy systems require separate primers, but most commercial and industrial installations benefit from this extra layer.
Primers penetrate into the concrete pores more deeply than thicker epoxy coatings, creating molecular hooks that lock the system in place. Two-part epoxy primers cure harder than the concrete itself, essentially reinforcing the surface. Application methods vary, but most primers go down with squeegees or rollers at coverage rates between 200 and 300 square feet per gallon.
Temperature and humidity during primer application affect cure rates and bond strength. Ideal conditions range from 60 to 85 degrees Fahrenheit with relative humidity below 85%. Applying primer outside these parameters can cause slow curing, incomplete cross-linking, or surface defects like blushing and clouding.
Mixing and Applying Base Epoxy Coatings
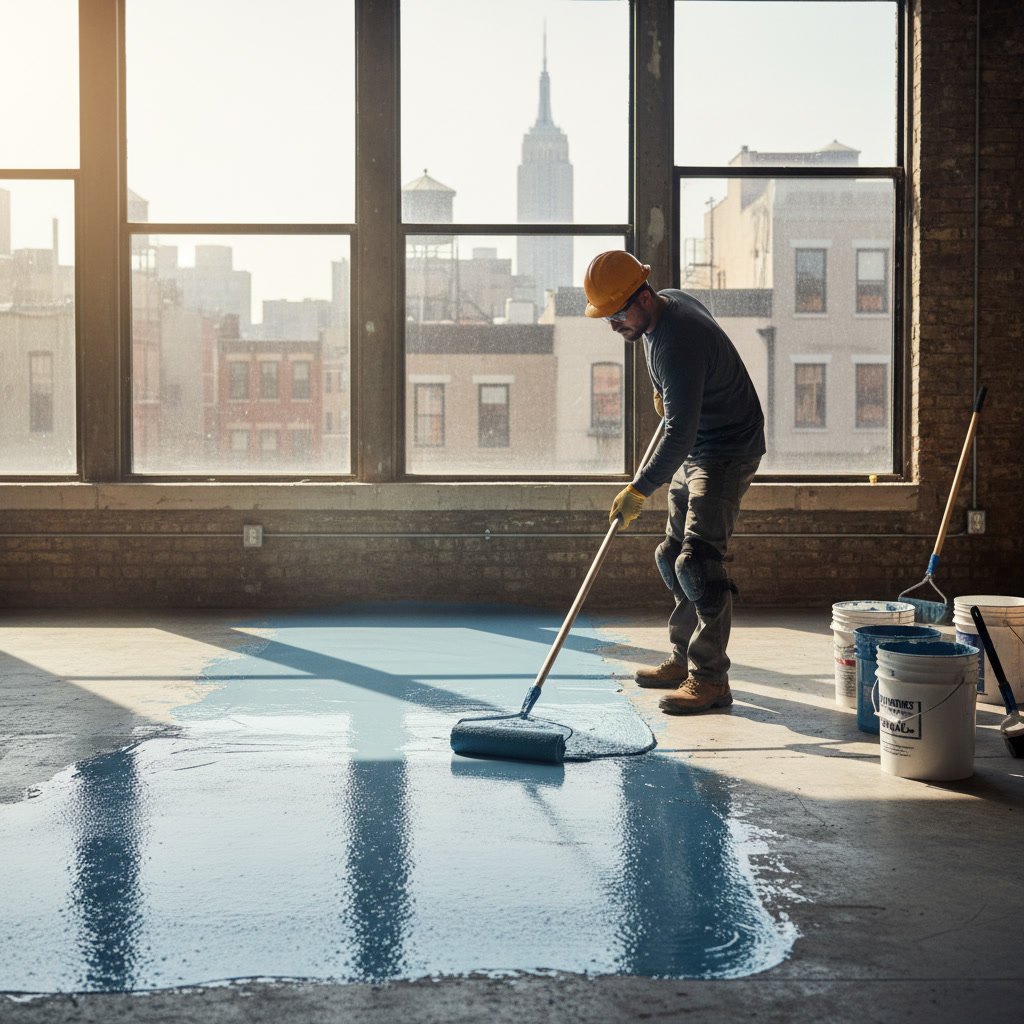
The base coat provides the bulk of the flooring system thickness and determines many performance characteristics. Epoxy coatings arrive as two-component systems: resin and hardener must be combined in precise ratios and mixed thoroughly before application.
Pot life limits how long mixed epoxy remains workable, typically 30 to 45 minutes at room temperature. Installers batch mix only what they can apply within this window. The material is poured onto the floor and spread with notched squeegees to achieve uniform thickness, then back-rolled with spike rollers to release trapped air and ensure complete wetting of the substrate.
Film thickness matters significantly. Too thin and the coating lacks durability and chemical resistance. Too thick and internal stresses during cure can cause cracking or poor intercoat adhesion on subsequent layers. Most base coats apply at 10 to 20 mils wet thickness, which yields 8 to 16 mils dry after solvent evaporation and cure shrinkage.
Adding Broadcast Aggregates or Decorative Flakes
Many epoxy systems incorporate broadcast materials for texture, slip resistance, or aesthetics. These aggregates are scattered into wet epoxy at specific coverage rates, then locked in place as the coating cures.
Quartz sand in various mesh sizes provides slip resistance and builds thickness in heavy-duty systems. Decorative flakes in vinyl or acrylic create colorful, speckled finishes popular in garages, retail spaces, and showrooms. Metallic pigments suspended in epoxy produce three-dimensional, variegated patterns that resemble marble or flowing water.
Broadcast coverage determines both appearance and performance. Light broadcasts at 10 to 20 pounds per 100 square feet create scattered accents. Full broadcasts at 50 pounds or more per 100 square feet achieve complete coverage with no base coat visible. After cure, excess aggregate is scraped off and the surface is lightly sanded before the next coat.
Applying Topcoats and Sealers for Protection
Topcoats provide the final layer of protection and determine surface characteristics like gloss level, chemical resistance, and UV stability. While base epoxies offer good chemical resistance, they can yellow under UV exposure and may not withstand the harshest chemicals or abrasion.
Urethane topcoats deliver superior abrasion resistance and UV stability compared to epoxy alone. Polyaspartic coatings cure rapidly, allowing same-day or next-day return to service, which minimizes downtime in commercial facilities. These fast-cure systems work well for projects requiring quick turnaround without sacrificing performance.
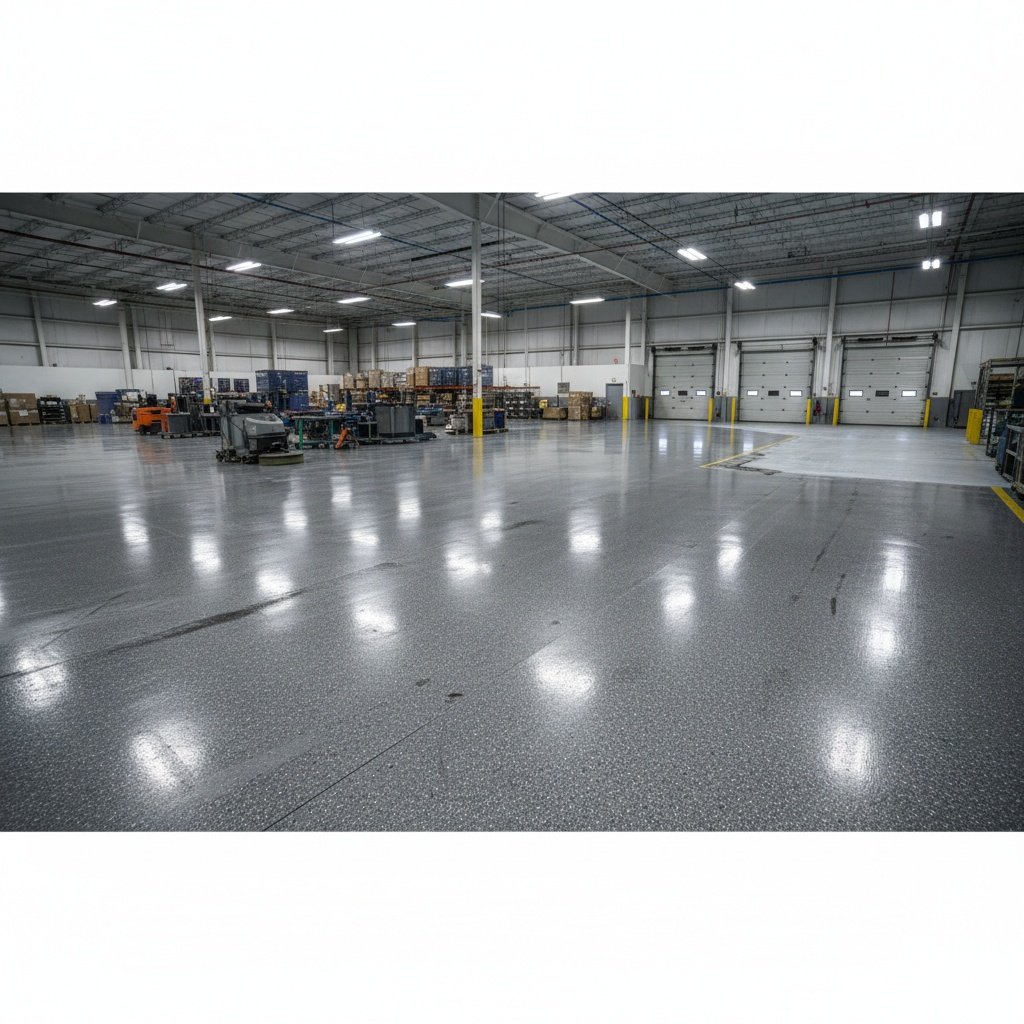
Gloss levels range from matte to high-gloss, each suited to different environments. High-gloss finishes maximize light reflectivity in warehouses and reduce lighting costs. Satin and matte finishes hide imperfections better and provide more slip resistance in wet areas. Topcoats typically apply at 3 to 5 mils thickness in one or two passes.
Curing Time and Environmental Controls
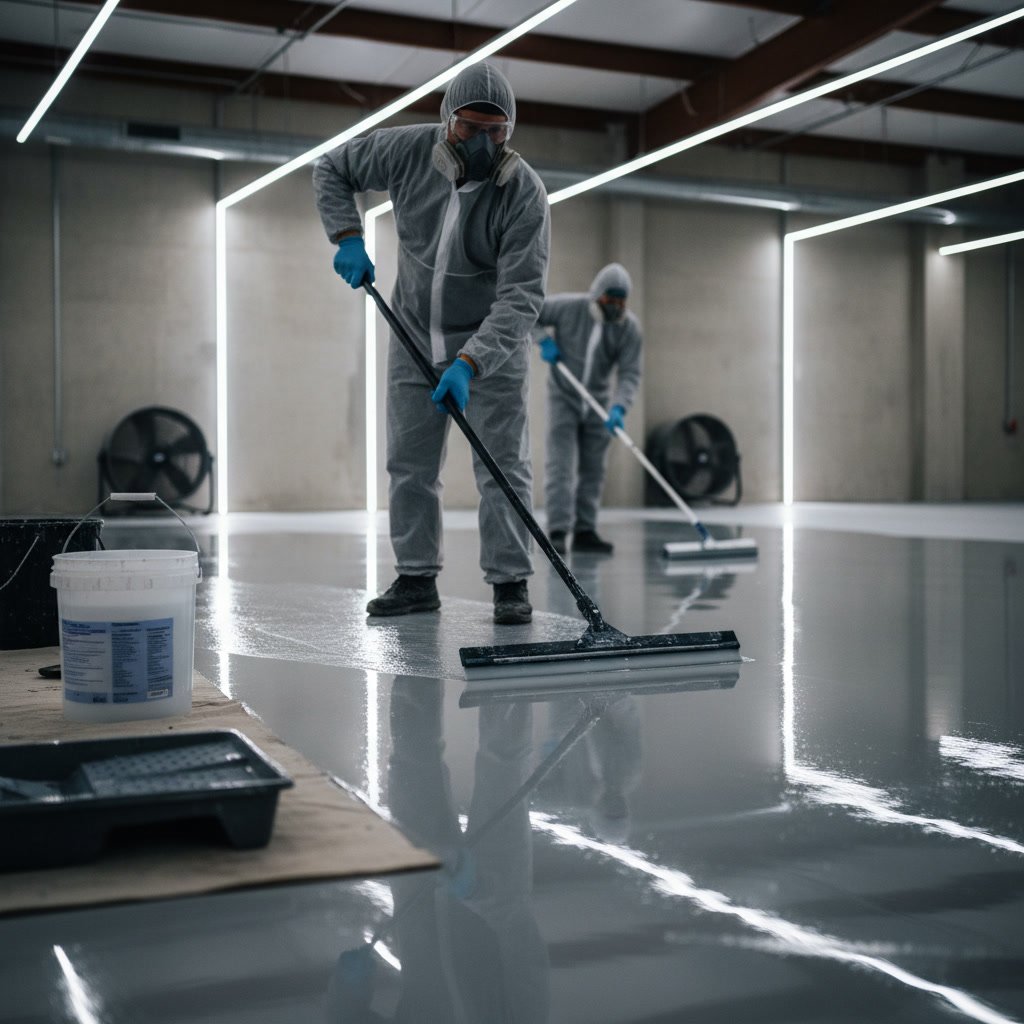
Chemical cure distinguishes professional epoxy installations from amateur attempts. Epoxy undergoes an exothermic reaction as resin and hardener cross-link into a rigid thermoset polymer. This process requires specific time and environmental conditions to complete properly.
Initial set occurs within hours, but full mechanical cure takes several days. Most epoxies reach sufficient hardness for foot traffic within 24 to 48 hours at 70 degrees. Vehicle traffic and heavy loads require 72 hours to seven days, depending on the specific product and film thickness. Cooler temperatures extend cure times significantly, while excessive heat can cause the coating to cure too quickly, creating surface defects.
Humidity control during cure prevents moisture from interfering with the chemical reaction. High humidity can cause amine blush, a waxy surface film that compromises adhesion between coats. Proper ventilation helps remove cure byproducts and maintains consistent temperature throughout the curing period.
Quality Control and Final Inspection Steps
Professional installers perform systematic quality checks throughout the process to catch problems before they become permanent. Visual inspection identifies issues like pinholes, bubbles, or uneven coverage. Adhesion testing using pull-off equipment verifies bond strength exceeds minimum specifications, typically 300 psi or greater for commercial applications.
Thickness measurements with wet film gauges during application and dry film gauges after cure confirm proper coverage. Insufficient thickness reduces performance and lifespan, while excessive thickness wastes material and increases costs. Documentation of these measurements provides assurance that the installation meets specifications.
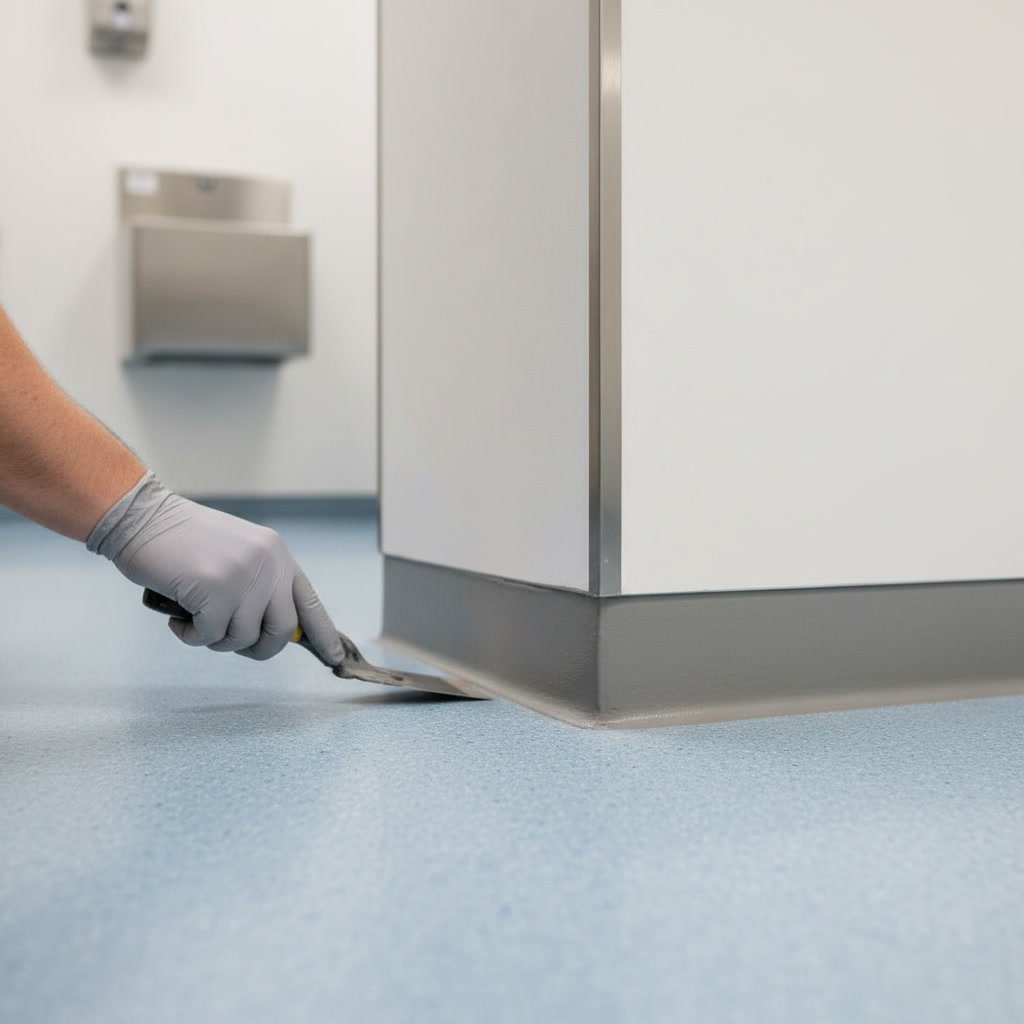
Edge details, transitions to drains, and interfaces with walls or equipment receive special attention. Cove base installations create seamless transitions between floors and walls in environments requiring wash-down capability. These details often determine whether a floor passes final inspection in regulated industries like food processing or pharmaceuticals.
Choosing the Right Installation Partner for Your Project
The difference between a floor that lasts two years and one that performs for 15 years often comes down to installer expertise and attention to detail. Alliance Epoxy Flooring Corp brings decades of combined experience to every installation, following proven processes that eliminate guesswork and deliver consistent results.
Proper epoxy installation requires specialized equipment, technical knowledge, and commitment to following each step without shortcuts. The process outlined here represents industry best practices refined through thousands of successful installations across warehouses, hospitals, retail spaces, and manufacturing facilities throughout the region.
Whether your project involves a small retail space or a 100,000-square-foot distribution center, working with experienced professionals ensures your investment delivers the performance, appearance, and longevity you expect. Alliance Epoxy Flooring Corp serves clients throughout the tri-state area with comprehensive flooring solutions tailored to each facility’s specific requirements. Reach out to discuss your project requirements and receive a detailed assessment at +18005189080.